
“A picture is worth a thousand words”. Isn’t it true? Pictures/Images help us understand complex things in an easy manner. In fact, the Internet would be a boring place without images. Every app/product that we use is incomplete without images. You might have started working on your new project or your new project might be completely based on images. So in this tutorial, we’ll learn how to add image in Flutter app.
Here’s what we’ll cover:
- Steps to Add Image in Flutter (image asset)
- Display Image from the Internet or Web
- Caching Images
- Preloading Images
Steps to Add Image in Flutter (image asset)
To add image asset in Flutter app, first of all, create an assets/images folder then add the actual images inside the folder. After this, Add the image path in pubspec.yamland then display it using the Image.asset() widget.
Here are the step by step instructions to add image in Flutter:
Step 1: At the root of your project, create a new folder called assets.
Step 2: Inside the root folder, create another folder called images. You can give any name to this folder such as pictures, graphics, etc.
Step 3: Add your images inside the assets/images folder.

Step 4: Provide the image path in pubspec.yamlfile as below.
flutter:
# The following line ensures that the Material Icons font is
# included with your application, so that you can use the icons in
# the material Icons class.
uses-material-design: true
assets: <-- SEE HERE
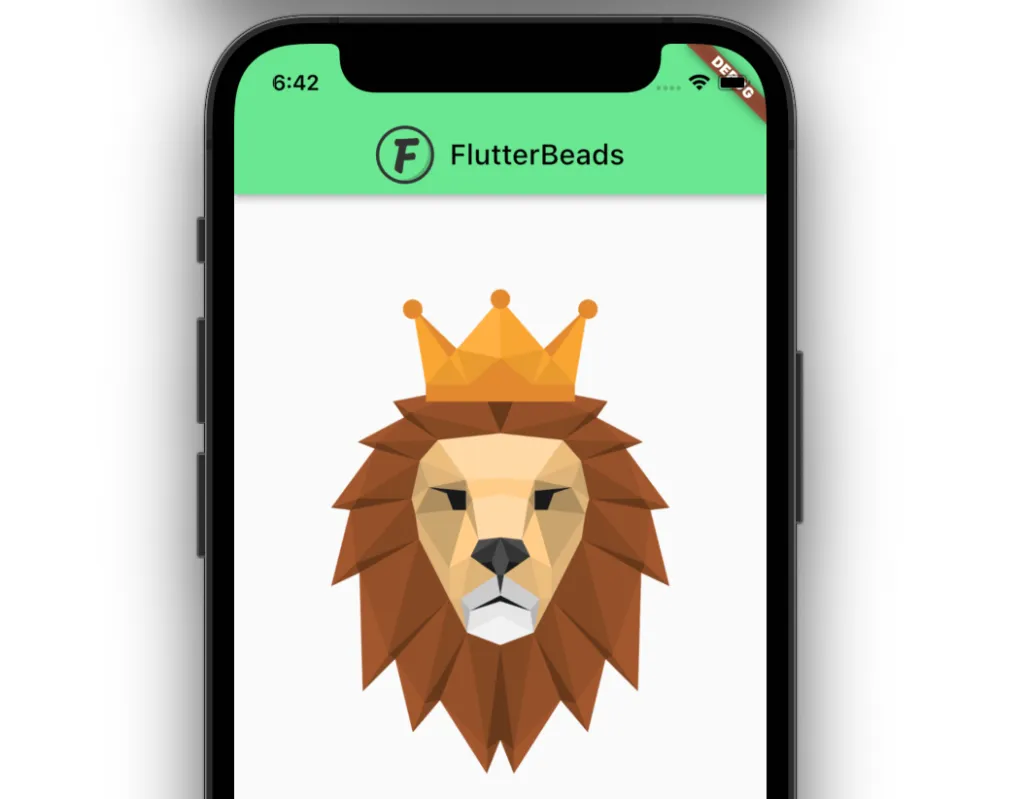
- assets/images/lion.pngIMP Note: For all the image assets that you use in the app, a path must be provided here. To provide the path of multiple images at once, add all your images inside the assets/images folder and give it a path in the pubspec.yaml file as below.
flutter:
  # The following line ensures that the Material Icons font is
  # included with your application, so that you can use the icons in
  # the material Icons class.
  uses-material-design: true
  assets:
    - assets/images/ <-- SEE HERE
Step 5: Display image using the Image.asset() widget.
Column(
  children: [
    Image.asset('assets/images/lion.png'), // <-- SEE HERE
  ],
)
Output:
While adding images to your Flutter app is easy, sometimes you may encounter an issue with loading assets. If you’re facing this problem, we recommend checking out our other blog post titled “Unable to Load Asset in Flutter“. It’s a comprehensive guide that will help you resolve this issue quickly and get back to creating stunning apps.
Display Image from the Internet or Web
To add or display images from the internet or web:
- Add the Image.network() to your page.
- Inside the Image.network(), write the URL for the online image.
- Restart your app.
Code Example:
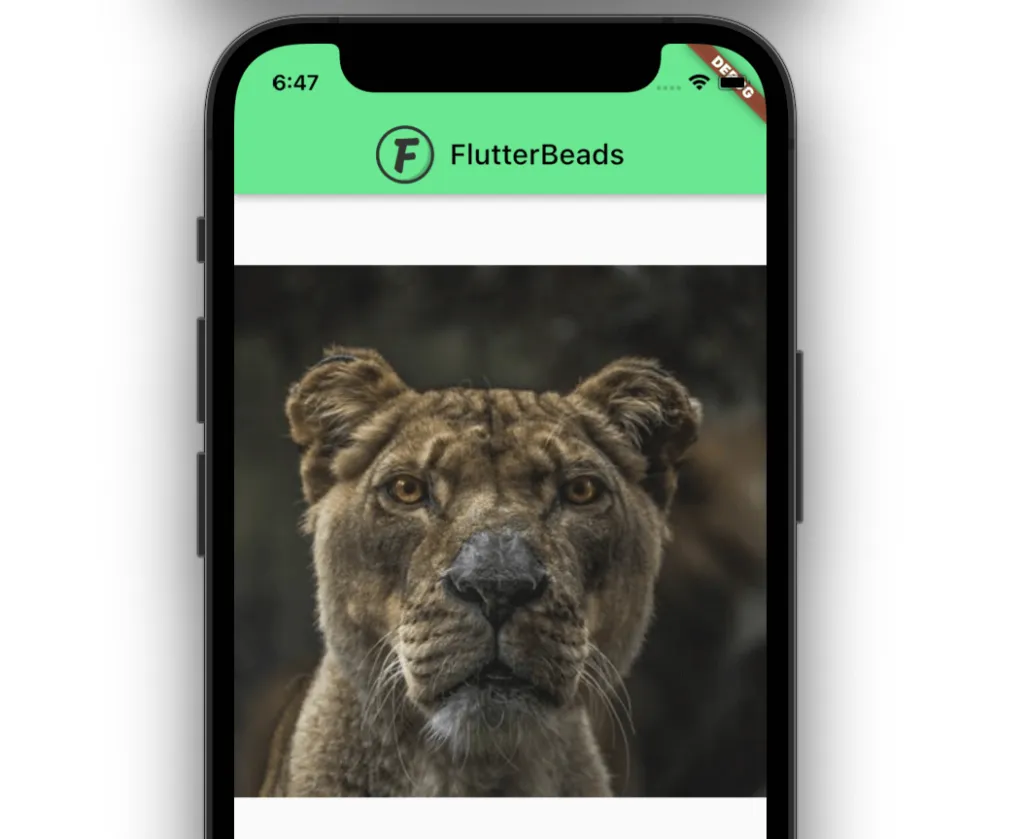
Column(
  children: [
    Image.network( // <-- SEE HERE
      'https://picsum.photos/id/1074/400/400',
    ),
  ],
)
Output:
Caching Images
Sometimes, it’s convenient to save the images when they’re downloaded from the internet. This helps you show the images even in offline mode.
To cache images:
Step 1: Add the cached_network_image package.
dependencies:
  flutter:
    sdk: flutter
  cupertino_icons: ^1.0.2
  cached_network_image: ^3.2.0 <-- SEE HERE
Step 2: Display the image using CachedNetworkImage widget.
CachedNetworkImage(
  placeholder: (context, url) => const CircularProgressIndicator(),
  imageUrl: 'https://picsum.photos/id/1074/400/400',
)
Step 3: Restart the app.
Note: Setting the placeholder widget allows you to show the alternate visual while the image loads.
Preloading Images
To reduce the loading time of high-res images, your can also preload images as soon as the app starts.
To preload images:
Step 1: Create a class called AppImages.
class AppImages {
 static const String imagesPath = “assets/images/”;
 static const String lion = imagesPath + “lion.png”;
}
Step 2: Get the Image reference.
Image myImage;
@override
void initState() {
 super.initState();
 myImage = Image.asset(AppImages.lion); <-- SEE HERE
}
Step 3: Prefetch image using a function called precacheImage().
@override
void didChangeDependencies() {
  super.didChangeDependencies();
  precacheImage(myImage.image, context); // <-- SEE HERE
}
Step 4: Display images as usual.
Column(
  children: [
    Image.asset('assets/images/lion.png'), // <-- SEE HERE
  ],
)
Step 5: Restart the app.
Note: You should find the loading time difference in the release mode only.
Conclusion
In this tutorial, we learned how to add image in Flutter app with practical examples. We also explored how to add/show an image from the internet and cache them so that the image is available in offline mode. We also learned how to preload images to reduce the initial image load time.
FAQs
How do I display an image as an icon in Flutter?
To display an image as an icon in Flutter, you can use the ImageIcon widget. Here’s an example:
ImageIcon(
  AssetImage('assets/images/my_icon.png'),
  size: 48, // set the size of the icon
  color: Colors.red, // set the color of the icon
),
Which image is used in Flutter?
Flutter supports a variety of image formats, including:
- PNG (Portable Network Graphics)
- JPEG (Joint Photographic Experts Group)
- GIF (Graphics Interchange Format)
- WebP (Web Picture format)
- Animated WebP
- Animated GIF
- BMP (Bitmap)
- WBMP (Wireless Bitmap)
You can use any of these image formats in your Flutter project. However, keep in mind that different image formats have different properties and trade-offs, such as file size, quality, and compatibility. You should choose the image format that best suits your needs for a particular use case.
Would you like to check other interesting Flutter tutorials?