Customizing the Font Family helps you make your app stand out from others. You may get a Custom Font from a designer or you choose to show unique font to build your app brand. So in this tutorial, we’ll learn how to add or change font family in Flutter with 4 easy steps.
The method described in this tutorial always loads the custom/new font regardless of the internet connection.
Here’s what we’ll cover:
Steps to add or change Font Family in Flutter
To change font family in Flutter, first of all, you need to get the fonts, put them inside your project, add the fonts to pubspec.yaml file and then use them in your dart file.
Step 1: Get font family
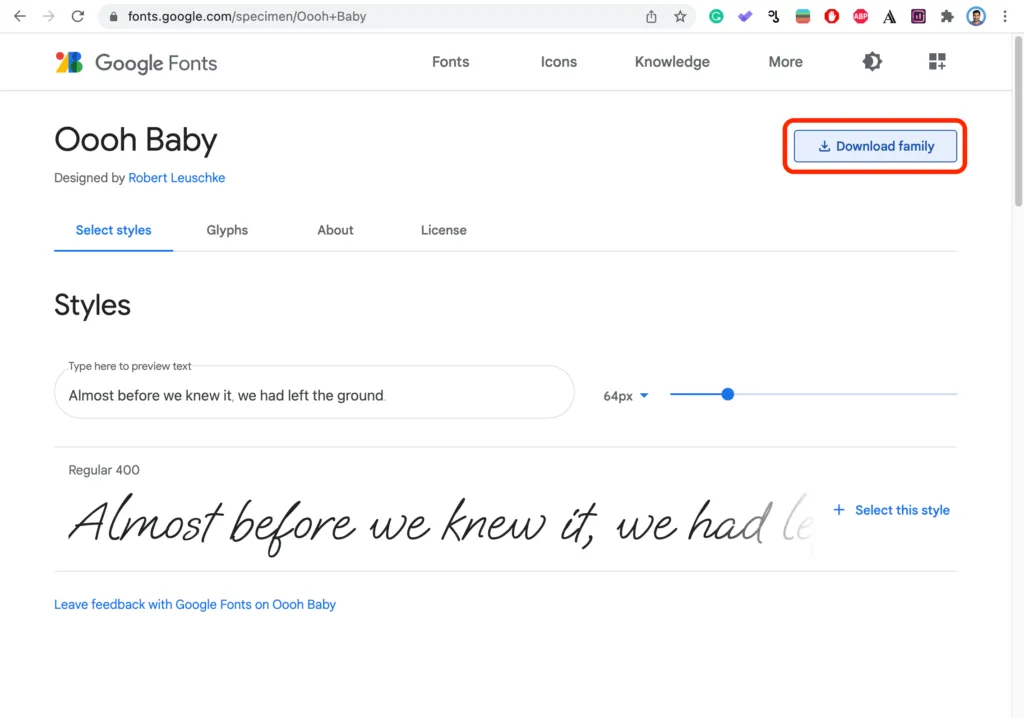
If you haven’t received the font from your designer, you can simply download it from the here → https://fonts.google.com/
Here’s how you download the font:
- Visit the https://fonts.google.com/
- Search for your font.
- Once you find it, click to open.
- Click on the Download Family button on the top right side of your screen.
- Extract the compressed file.
Step 2: Import the Font into Project
To import the Font in your project:
- Open your project in IDE.
- At the root directory, create a directory called assets.
- Create one more directory inside the assets called fonts.
- Copy-Paste [font].ttf file into the fonts folder.

Step 3: Add Font to Pubspec.yaml
To add Font to pubspec.yamlfile:
- Uncomment the fonts section.
- Replace the family name with your font family. To get the family name, simply take the first part before the dash sign (-). For example, if the downloaded font name is OoohBaby-Regular, take the OoohBaby as your family name.
- Replace the asset path with the path where your font is residing.

Step 4: Use the New Font in Text Widget
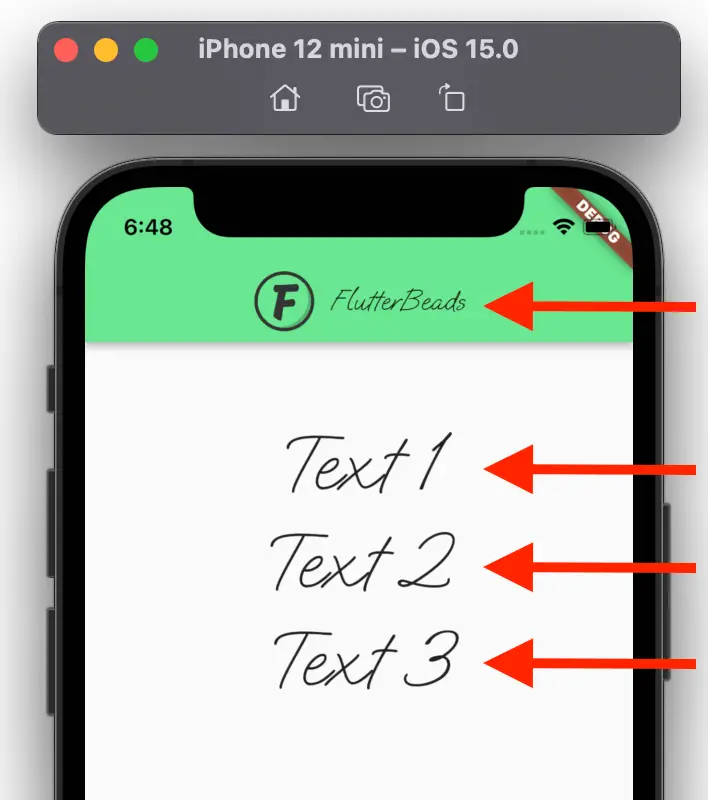
Now you can simply use the new font in your Text widget like the following:
Text(
  'Signature',
  style: TextStyle(fontFamily: 'OoohBaby', fontSize: 55),
),
Output:

Changing Font at App Level
To change font family in Flutter at the app level:
Here’s is how you do it:
- Go to your main.dart file.
- Inside the MaterialApp, find the ThemeData widget.
- Add the fontFamily property and assign your new font family name.
- Stop and re-run your app.
Code Example:
return MaterialApp(
  title: 'Flutter Demo',
  theme: ThemeData(
    primarySwatch: Colors.blue,
    fontFamily: 'OoohBaby',
  ),
  home: ChangeFontDemo(),
);
Output:
Custom Font Not Displaying Issue
Sometimes, even if you implemented all the steps correctly, you may not see the changes reflected in your app.
In this case, make sure to completely uninstall and re-run your app.
That’s it. Thanks!
Conclusion
In this tutorial, we learned how to add or change font family in Flutter with practical examples. We saw how to change the font at the app level and also what to do if the changes are not reflected.
Would you like to check other interesting Flutter tutorials?