
The TextField widget in Flutter is one of the most used widgets. It is used to get input from users. But sometimes you may want to change its underline color. So in this tutorial, we’ll see how to change TextField underline color in Flutter.
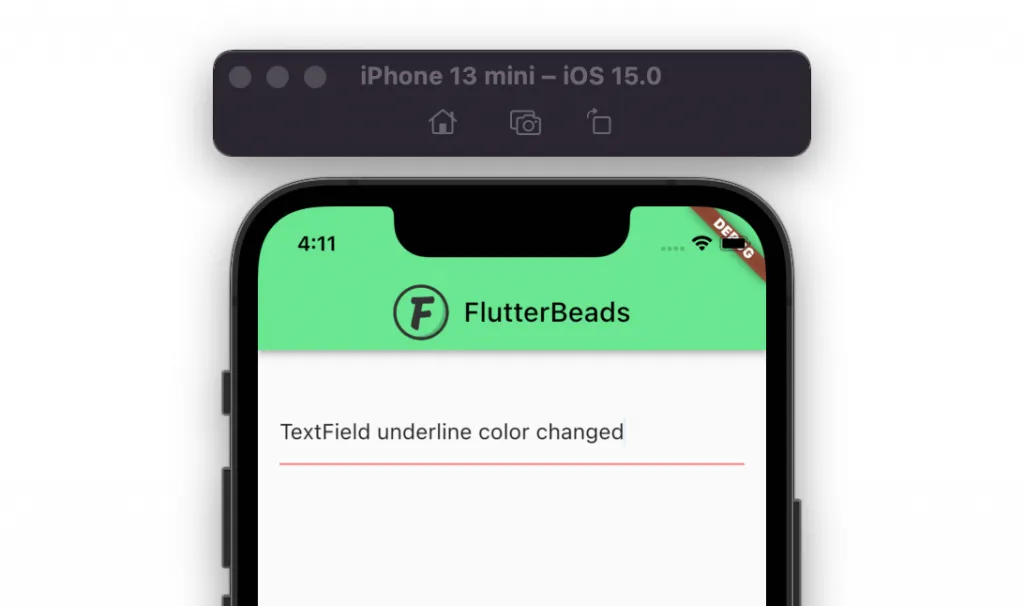
Here’s how it looks after changing color:
Here’s what we’ll cover:
- Steps to change TextField underline color in Flutter
- Changing TextField underline color globally
- Different ways of adding color
Steps to change TextField underline color in Flutter
To change TextField underline color in Flutter, add styling to the TextField widget. Basically, you provide the styling instructions by using the InputDecoration widget with the required parameters.
Here is the step by step instructions:
Step 1: Locate the file where you have placed the TextField widget.
Step 2: Inside the TextField widget, add the decoration parameter and assign the InputDecoration widget.
Step 3: Inside the InputDecoration widget, add the enabledBorder parameter and assign the UnderlineInputBorder widget.
Step 4: Inside the UnderlineInputBorder, add the color parameter and set the color of your choice.
Code Example
TextField(
  decoration: InputDecoration(
    enabledBorder: UnderlineInputBorder(
      borderSide: BorderSide(color: Colors.redAccent), //<-- SEE HERE
    ),
  ),
)
This will change the color of TextField underline. To change the TextField underline when it is focused, you can add the focusedBorder parameter inside the UnderlineInputBorder and set the color.
Similarly, you can set the color for the other states of the TextField as well:
disabledBorderenabledBorderbordererrorBorderfocusedErrorBorder
Changing TextField underline color globally
In the previous section, we saw how to change the TextField underline color at the page level. but sometimes you might be looking to have a common style across all the pages of your app. In that case, you might want to change the TextField underline color at the app level.
You can change the TextField underline color globally by defining the inputDecorationTheme and then adding the UnderlineInputBorder widget. Inside the UnderlineInputBorder widget, you can specify which type of border you want to change. for example, enabledBorder, focusedBorder, and so on, and then assign the color.
Here’s how you do it:
Step 1: Locate the MaterialApp widget.
Step 2: Inside the MaterialApp, add the theme parameter with ThemeData class assigned.
Step 3: Inside the ThemeData add the inputDecorationTheme parameter and then assign the InputDecorationTheme.
Step 4: Inside the InputDecorationTheme add the enabledBorder parameter and then assign the UnderlineInputBorder.
Step 5:Inside the UnderlineInputBorder add the borderSide parameter and then assign the color of your choice.
Code Example
MaterialApp(
  title: 'Flutter Demo',
  theme: ThemeData(
    primarySwatch: Colors.blue,
    inputDecorationTheme: const InputDecorationTheme(
      enabledBorder: OutlineInputBorder(
        borderSide: BorderSide(color: Colors.redAccent),
      ),
      focusedBorder: OutlineInputBorder(
        borderSide: BorderSide(color: Colors.redAccent),
      ),
    ),
  ),
  home: ChangeTextFieldUnderlineColorDemo(),
);
Output
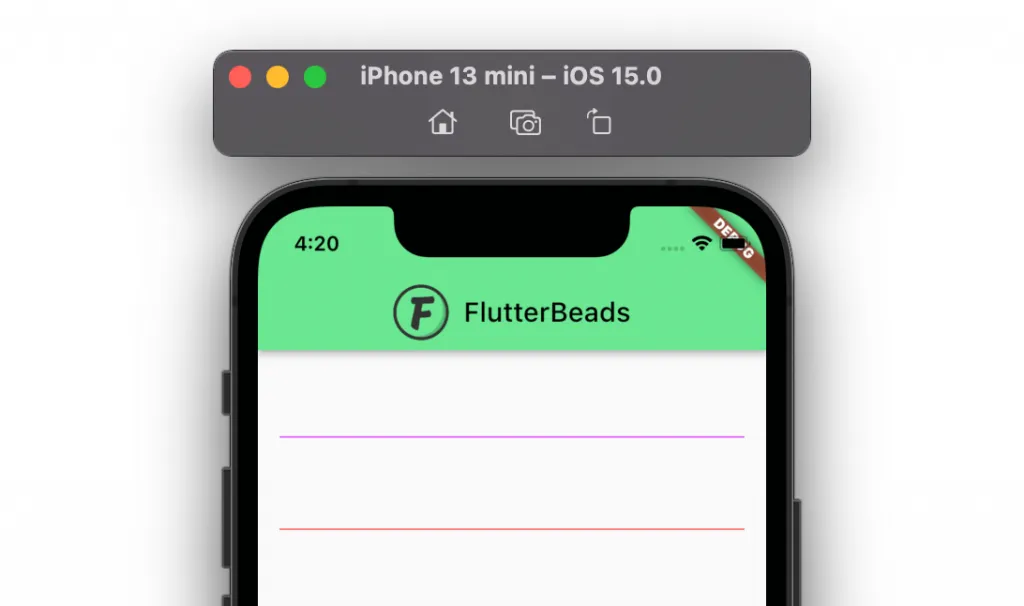
Different ways of adding color
There are main three ways you can add color to the TextField underline widget.
Colors.red: This is used to define from the predefined colors.Color(0xffF02E65): This is used to have a custom color.Color.fromARGB(255, 66, 125, 145): This is used to have color from the alpha, red, green, and blue color combination.
Code Example
TextField(
  decoration: InputDecoration(
    enabledBorder: UnderlineInputBorder(
      borderSide: BorderSide(color: Colors.greenAccent),//<-- SEE HERE
    ),
    focusedBorder: UnderlineInputBorder(
      borderSide: BorderSide(color: Color(0xffF02E65)),//<-- SEE HERE
    ),
    errorBorder: UnderlineInputBorder(
      borderSide: BorderSide(color: Color.fromARGB(255, 66, 125, 145)),//<-- SEE HERE
    ),
  ),
),
Conclusion
In this tutorial, we learned how to change TextField underline color in Flutter with practical examples, we first saw how to change the color at the page level and then explored the way to change color at the app level. Finally, we also learned what are the different ways to add colors.
Would you like to check other interesting Flutter tutorials?
