
There is hardly any app that includes all its features on a single page. Even a minimal app offers its features on multiple pages of the app. When you add a new page in Flutter, by default, the page shows the back button and allows users to navigate to the previous screen. But sometimes you may want to change this behavior and present the new screen as the parent or home screen. So in this tutorial, we’ll see how to remove back button on appbar in Flutter.
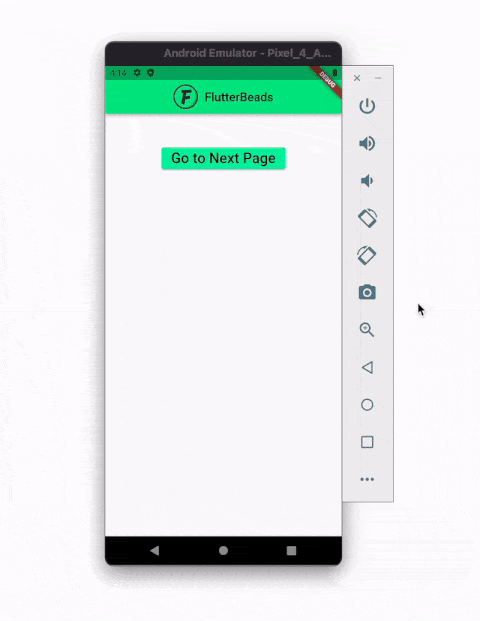
Here’s is how it looks after removing or disabling the back button:
Here’s what we’ll cover:
The Need
There can be many purposes to remove or disable the back button in Flutter. Let’s take a common example of the Login screen. When use is authenticated and navigated to the home screen, you don’t need to show the back button. Along with removing the back button, you may also need to remove the previous screen from the stack so that users don’t go to the previous screen.
Right Way to Remove Back Button on Appbar in Flutter
The right and simplest way to remove back button on Appbar in Flutter is to set the automaticallyImplyLeading property of the AppBar to false and replace the old screen in a stack with the current/new screen.
Steps
Step 1: Open the next/second page.
Step 2: Inside the AppBar, add the automaticallyImplyLeading parameter and set it to false.
Step 3: Open the previous/first page.
Step 4: Locate the Navigator.push() method and replace it with the Navigator.pushReplacement(). This method destroys the previous screen and puts the next screen in the stack.
Step 5: Restart the app.
Code Example
ElevatedButton(
  onPressed: () {
    // Step 4. SEE HERE
    Navigator.pushReplacement(
      context,
      MaterialPageRoute(builder: (context) => const SecondRoute()),
    );
  },
  child: const Text(
    'Go to Next Page',
    style: TextStyle(fontSize: 24),
  ),
),
//----------
class SecondRoute extends StatelessWidget {
  const SecondRoute({Key? key}) : super(key: key);
  @override
  Widget build(BuildContext context) {
    return Scaffold(
      appBar: AppBar(
        centerTitle: true,
        automaticallyImplyLeading: false, // <-- Step 2. SEE HERE
        title: Row(
          mainAxisAlignment: MainAxisAlignment.center,
          children: [
            Image.asset(
              'assets/images/logo.png',
              scale: 12,
            ),
            const SizedBox(
              width: 10,
            ),
            const Text(
              'FlutterBeads',
              style: TextStyle(color: Colors.black),
            ),
          ],
        ),
        backgroundColor: const Color(0xff6ae792),
      ),
      body: Center(
        child: Text(''),
      ),
    );
  }
}
Conclusion
In this tutorial, we saw how to remove back button on appbar in Flutter with practical examples. We first understood why someone may want to remove the back button and only removing the back button from the AppBar is not enough. To prevent the user from navigating back to the previous screen, you also need to replace the previous screen with the new screen in a stack.
Would you like to check other interesting Flutter tutorials?
