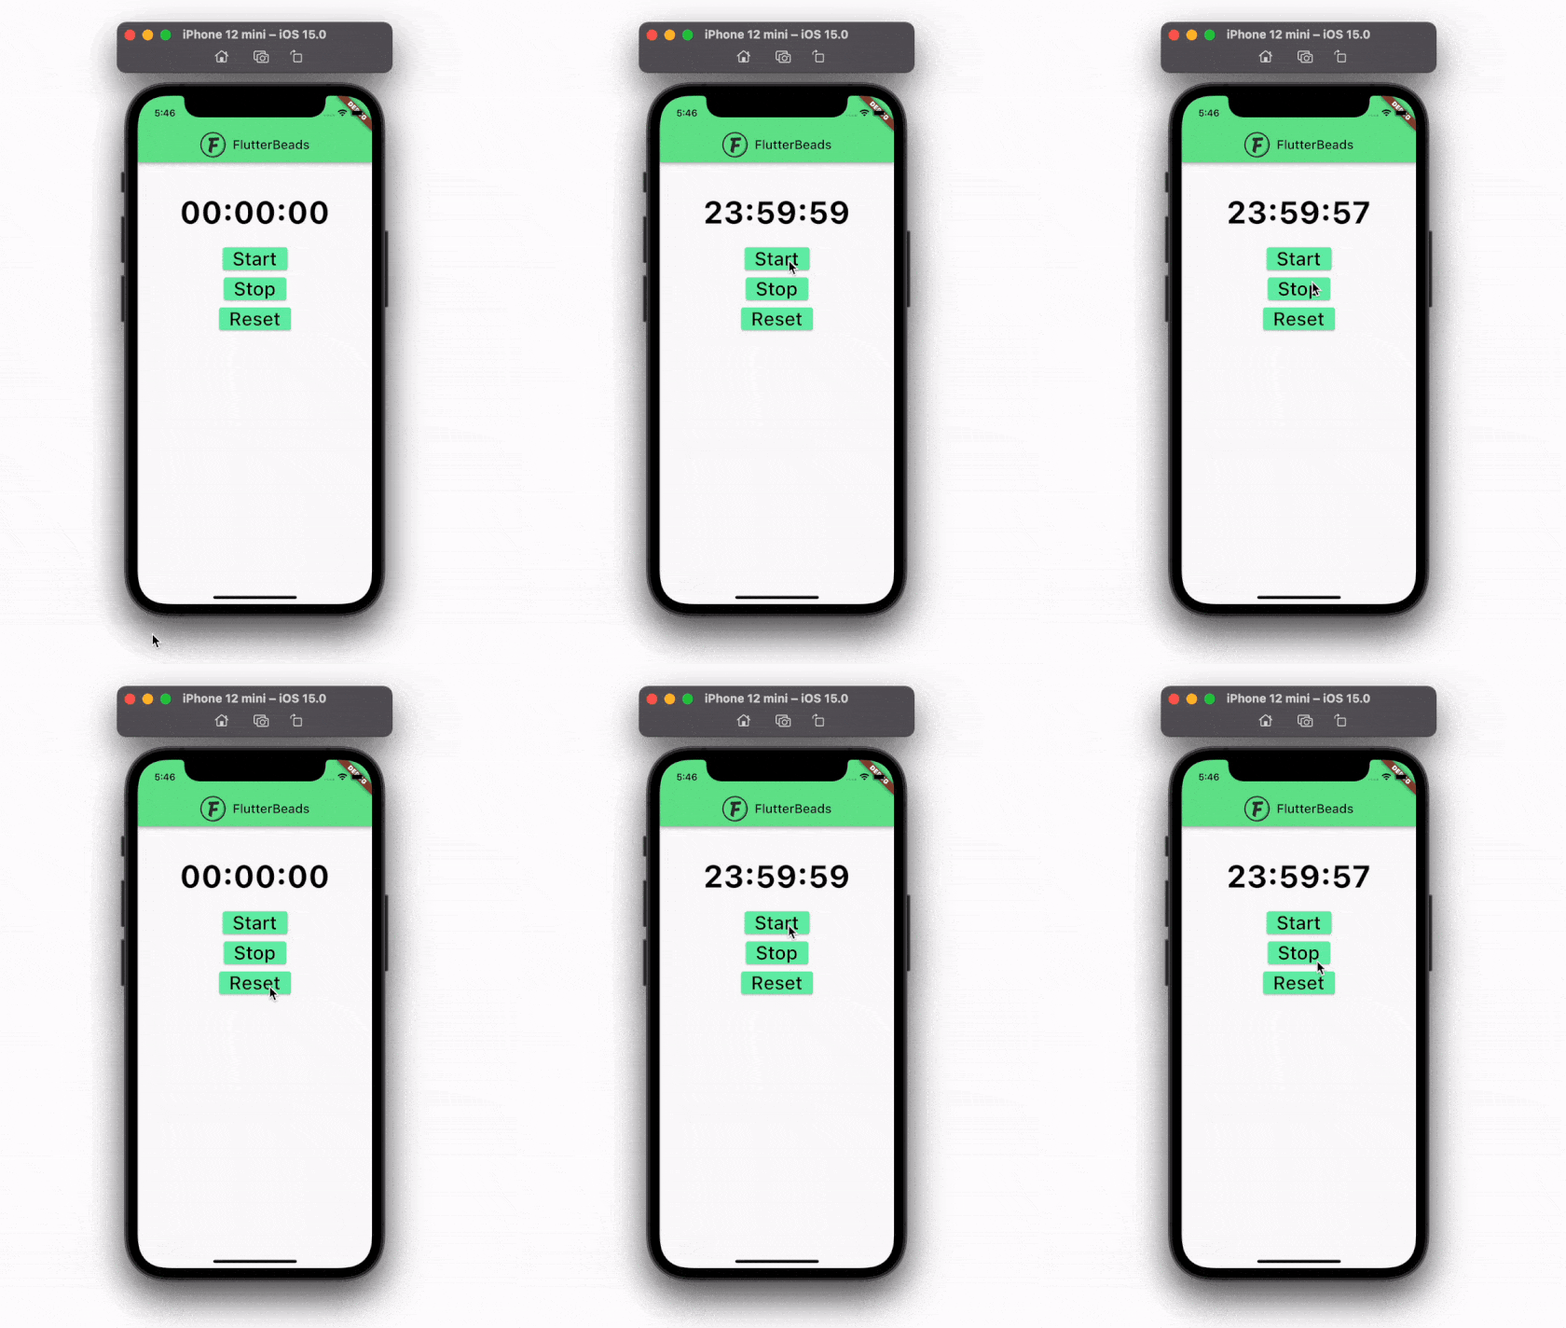
The Countdown timer in Flutter is a feature that you can add to your app to let users know about the time spent or remaining. Basically, you have to provide a certain duration for which the countdown should run, and then you can trigger the timer to start counting down until it reaches 0. There are many ways to implement this feature but in this tutorial, we’ll develop the Flutter countdown timer using the easiest approach.
Here’s what we’ll be building in this tutorial:

Here’s what we’ll cover:
- Need of Countdown Timer
- How to Add Flutter Countdown Timer
- Countdown Timer in Landing Page
- Countdown Timer in OTP Verification
- Some Ready-Made Packages You Might Like
Need of Countdown Timer
There can be many use cases for which you may want to add the countdown timer. For example, In developing the online exam portal to display remaining exam time, showing time remaining to resend OTP, landing page, and so on.
How to Add Flutter Countdown Timer
The Flutter countdown timer can be added using the timer.periodic constructor. The timer.periodic constructor creates the repeating timer and gives a callback at every duration that you specified. Using the callback from timer.periodic you can update the UI accordingly and that’s how the countdown timer is implemented.
Steps to add countdown timer in Flutter:
Step 1: Make sure you have a StatefulWidget class.
Step 2: Add the timer and duration variable.
Step 3: Add a method called startTimer() to start the timer.
Step 4: Add a method called stopTimer() to stop the timer.
Step 5: Add a method called resetTimer() to restart the timer.
Step 6: Add a method called setCountDown() to update the countdown and rebuild the page.
Step 7: Extract the hours,minutes and second from the current duration variable.
Step 8: Add Text widget to show the countdown timer.
Step 9: Add ElevatedButton to start the timer.
Step 10: Add another ElevatedButton to Stop the timer.
Step 11: Add one more ElevatedButton to Reset the timer.
Code Example:
class _CountdownTimerDemoState extends State<CountdownTimerDemo> {
  // Step 2
  Timer? countdownTimer;
  Duration myDuration = Duration(days: 5);
  @override
  void initState() {
    super.initState();
  }
  /// Timer related methods ///
  // Step 3
  void startTimer() {
    countdownTimer =
        Timer.periodic(Duration(seconds: 1), (_) => setCountDown());
  }
  // Step 4
  void stopTimer() {
    setState(() => countdownTimer!.cancel());
  }
  // Step 5
  void resetTimer() {
    stopTimer();
    setState(() => myDuration = Duration(days: 5));
  }
  // Step 6
  void setCountDown() {
    final reduceSecondsBy = 1;
    setState(() {
      final seconds = myDuration.inSeconds - reduceSecondsBy;
      if (seconds < 0) {
        countdownTimer!.cancel();
      } else {
        myDuration = Duration(seconds: seconds);
      }
    });
  }
  @override
  Widget build(BuildContext context) {
    String strDigits(int n) => n.toString().padLeft(2, '0');
    final days = strDigits(myDuration.inDays);
    // Step 7
    final hours = strDigits(myDuration.inHours.remainder(24));
    final minutes = strDigits(myDuration.inMinutes.remainder(60));
    final seconds = strDigits(myDuration.inSeconds.remainder(60));
    return Scaffold(
      appBar: ...,
      body: Center(
        child: Column(
          children: [
            SizedBox(
              height: 50,
            ),
            // Step 8
            Text(
              '$hours:$minutes:$seconds',
              style: TextStyle(
                  fontWeight: FontWeight.bold,
                  color: Colors.black,
                  fontSize: 50),
            ),
            SizedBox(height: 20),
            // Step 9
            ElevatedButton(
              onPressed: startTimer,
              child: Text(
                'Start',
                style: TextStyle(
                  fontSize: 30,
                ),
              ),
            ),
            // Step 10
            ElevatedButton(
              onPressed: () {
                if (countdownTimer == null || countdownTimer!.isActive) {
                  stopTimer();
                }
              },
              child: Text(
                'Stop',
                style: TextStyle(
                  fontSize: 30,
                ),
              ),
            ),
            // Step 11
            ElevatedButton(
                onPressed: () {
                  resetTimer();
                },
                child: Text(
                  'Reset',
                  style: TextStyle(
                    fontSize: 30,
                  ),
                ))
          ],
        ),
      ),
    );
  }
}
Countdown Timer in Landing Page
You can use the same countdown timer to put on the landing page that shows how much time is remaining to launch your product.
To display the countdown timer on the landing page, simply as per step number 7 in the previous section extract the days and update the Text widget accordingly.
Code Example:
final days = strDigits(myDuration.inDays); // <-- SEE HERE
final hours = strDigits(myDuration.inHours.remainder(24));
final minutes = strDigits(myDuration.inMinutes.remainder(60));
final seconds = strDigits(myDuration.inSeconds.remainder(60));
Text(
  '$days:$hours:$minutes:$seconds',
  style: TextStyle(
      fontWeight: FontWeight.bold,
      color: Colors.black,
      fontSize: 50),
),
Output:

Countdown Timer in OTP Verification
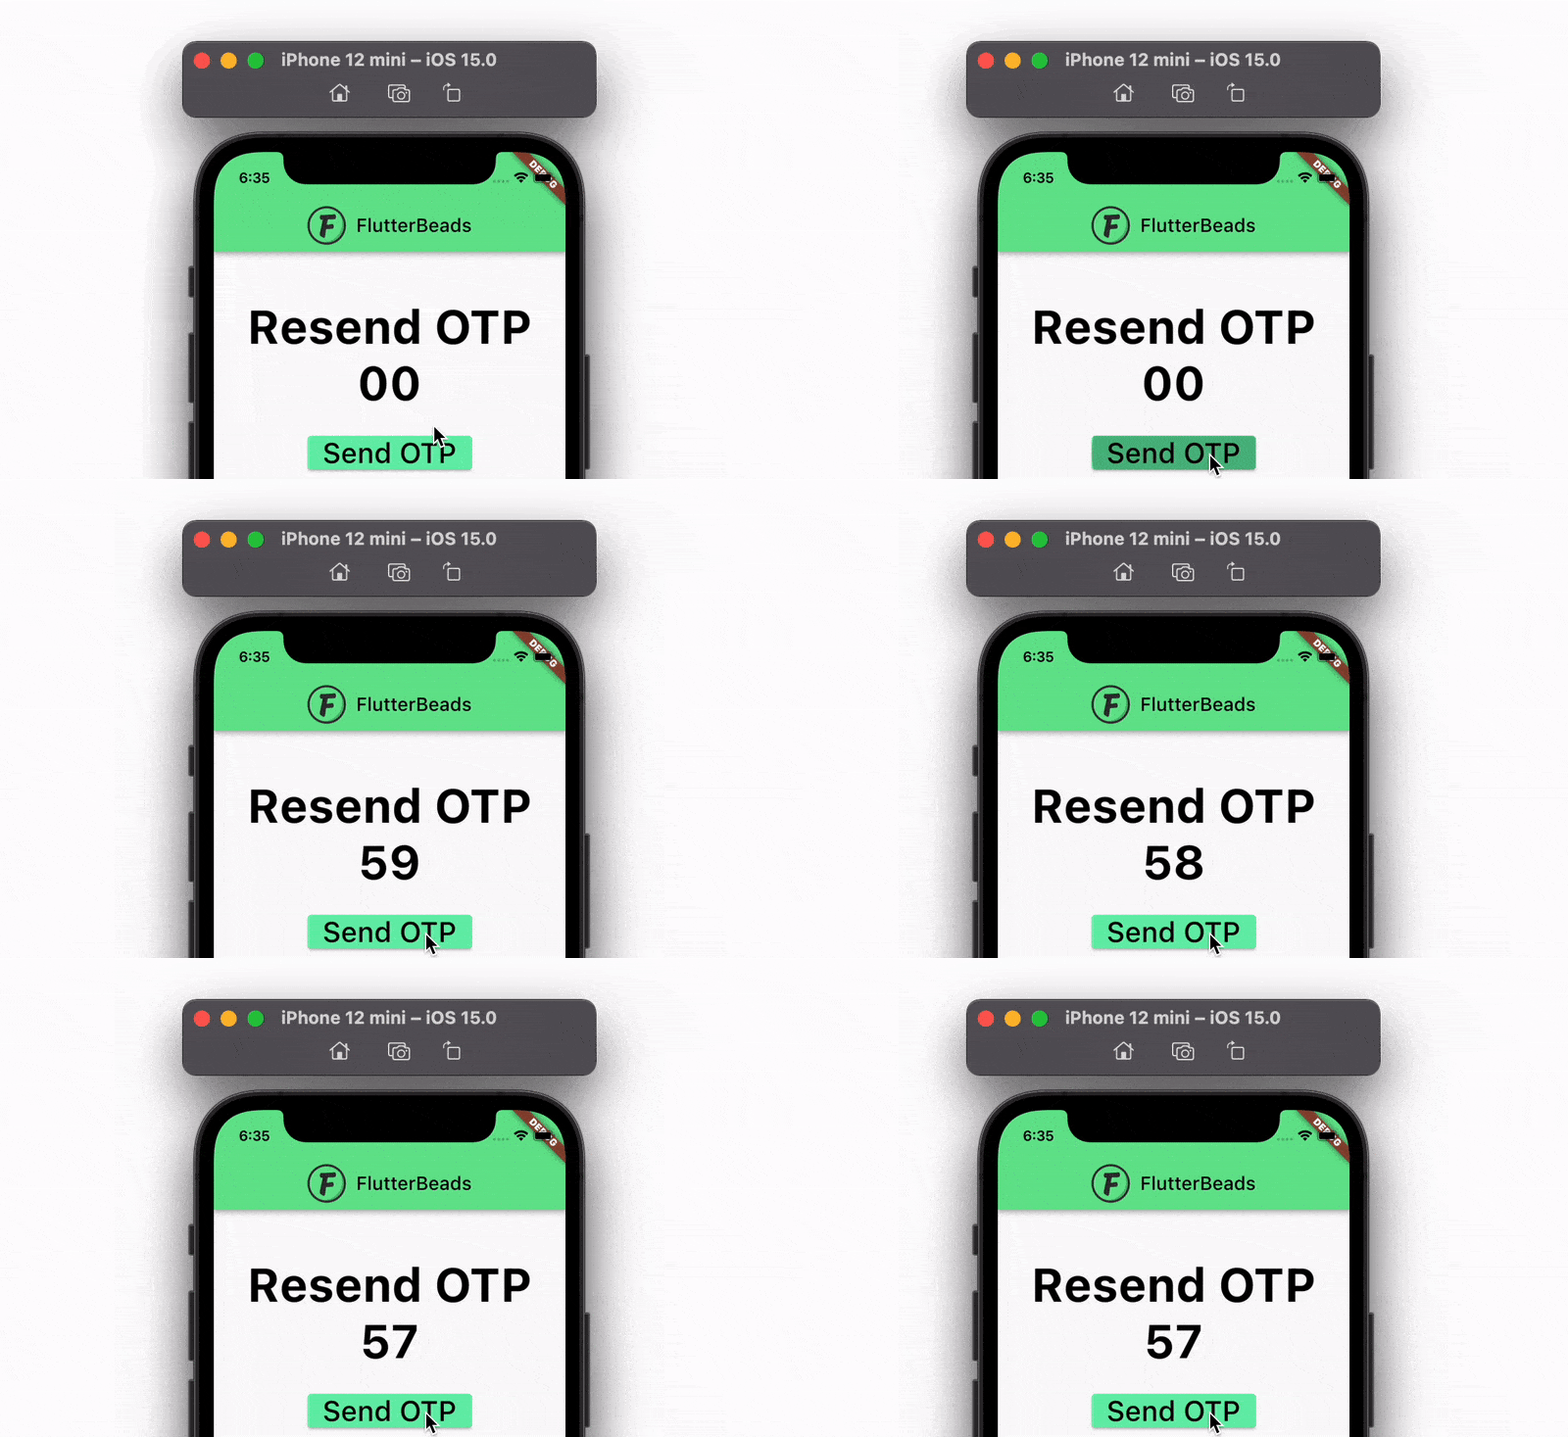
You can use the countdown timer created above to put it on the OTP verification page as well. For example, showing how much time is remaining to resend the OTP message.
To display the countdown timer on the OTP verification page, simply as per step number 7 in the previous section only extract the seconds and update the Text widget accordingly.
Code Example:
final seconds = strDigits(myDuration.inSeconds.remainder(60));
Text($seconds',
  style: TextStyle(
      fontWeight: FontWeight.bold,
      color: Colors.black,
      fontSize: 50),
),
Output:

Some Ready-Made Packages You Might Like
If you want to get things done fast, here are some packages that you may like:
https://pub.dev/packages/timer_count_down
https://pub.dev/packages/circular_countdown_timer
https://pub.dev/packages/flutter_countdown_timer
Conclusion
In this tutorial, we implemented the Flutter Countdown Timer using the easiest approach. We used the timer.perodic constructor to build the timer and then saw different use cases in which you can use the countdown timer. Finally, we saw the ready-made solution using the package.
Would you like to check other interesting Flutter tutorials?


