
The TextField widget is one of the most used and important widgets in Flutter. It allows you to take various kinds of inputs from users. You may be using the TextField widget in a simple form or driving the whole messaging app on it. But sometimes, you may need to add the initial value to Textfield. So in this tutorial, we’ll learn the top 3 ways to add Flutter TextField initial value.
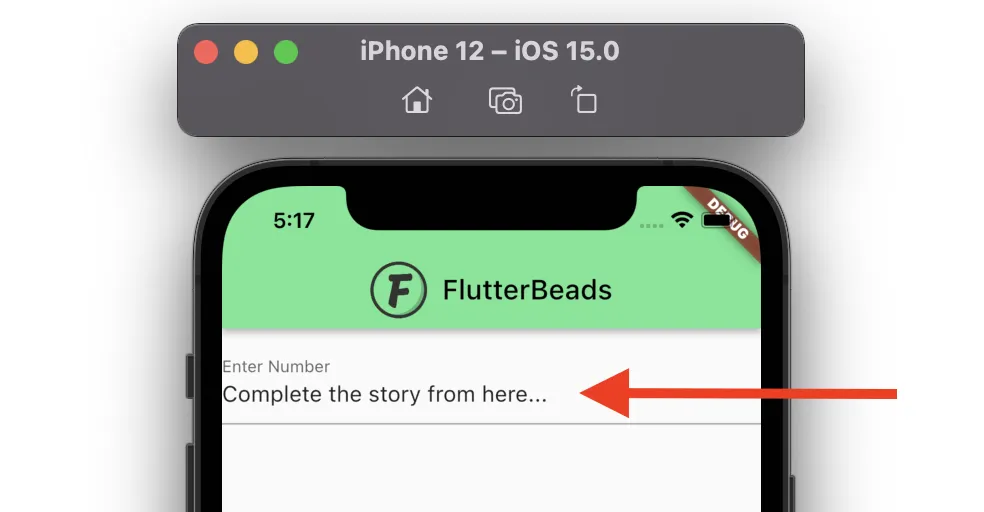
Here’s what the TextField with an initial value looks like:
Here’s what we’ll cover:
Need of Adding Initial Value to TextField
There can be several scenarios where you need to add the initial value to TextField based on your app. A common example is messaging app where a user types a message and navigates to somewhere else in the app (without sending a message) and then comes back. In such a situation you should show the unsent message again in the TextField.
Ways to Add Flutter TextField Initial Value
The TextField initial value in Flutter can be added in the following three ways:
- Using TextEditingController
- Providing Direct TextEditingController
- Using TextFormField
1. Using TextEditingController
You can add the initial value to TextField by creating a dedicated TextEditingController, setting its text property to the text you want to show, and then assigning the TextEditingController to the actual TextField.
To add Flutter TextField initial value using TextEditingController:
- Create the TextEditingController.
- Add the actual text to the text property of TextEditingController.
- Assign the TextEditingController to the TextField.
Code Example:
// Step 1 <- SEE HERE
TextEditingController _controller = new TextEditingController();
@override
void initState() {
  // TODO: implement initState
  super.initState();
  // Step 2 <- SEE HERE
  _controller.text = 'Complete the story from here...';
}
// Step 3 <- SEE HERE
TextField(
  controller: _controller,
  decoration: InputDecoration(labelText: 'Enter Number'),
),
When to Use:
Use this approach when you want to utilize the instance of TextEditingController for other purposes as well. For example, updating/clearing using the same instance of TextEditingController.
Output:

2. Providing Direct TextEditingController
You can also add the initial value to TextField by adding the direct TextEditingController to the TextField and then setting the text parameter to the text you want.
To add TextField initial value in Flutter by providing direct TextEditingController:
- Inside the TextField widget, add the controller parameter and assign the TextEditingController.
- Inside the TextEditingController, add the text parameter and add the actual text you want.
Code Example:
TextField(
  controller:
      TextEditingController(text: "Complete the story from here..."), // <-- SEE HERE
  decoration: InputDecoration(labelText: 'Enter Number'),
),
When to Use:
Use this approach when you don’t want to utilize the instance of TextEditingController for other operations such as updating/clearing the text.
Output:

3. Using TextFormField
The TextFormField is different from the TextField widget and it can be used to show the initial text.
Steps:
- Add the TextFormField widget.
- Inside the TextFormField, add the initialValue parameter and write the text that you want to show as prefilled.
Code Example:
TextFormField(
  autofocus: false,
  initialValue: 'Complete the story from here...', // <-- SEE HERE
  decoration: InputDecoration(
    hintText: 'Enter Number',
  ),
),
When to Use:
You should use this approach when you are building a form that requires user input validation.
Output:

Looking for more ways to customize your text input fields in Flutter? Check out our latest blog post on “Customize TextField/TextFormField Border” and learn how to create visually appealing and unique text input fields for your mobile app.
Conclusion
In this tutorial, we learned how to add Flutter TextField initial value with practical examples. We first saw the need for adding the initial value to TextField and then went through the ways to add initial text that includes using the TextEditingController and TextFormField. We also understood when to use which approach.
FAQs
How to get textfield value in flutter?
- First, create a TextEditingController object for your TextField.
- Access the text value of the TextEditingController using its
textproperty. - You can use the
onSubmittedproperty of the TextField widget to call a function that takes the text value as a parameter and performs the desired action. - Alternatively, you can use a RaisedButton or FlatButton widget to trigger the action and pass the text value to the function using the TextEditingController’s
textproperty.
How to set text in TextField in Flutter?
To set text in a TextField in Flutter, you can use the TextEditingController class. First, create an instance of TextEditingController and pass it to the controller parameter of the TextField widget. Then, you can use the text property of the TextEditingController to set the text programmatically.
Here’s an example code snippet:
TextEditingController _controller = TextEditingController();
@override
Widget build(BuildContext context) {
  return TextField(
    controller: _controller,
    decoration: InputDecoration(
      labelText: 'Enter text',
    ),
  );
}
// To set the text programmatically:
_controller.text = 'Hello world';
Would you like to check other interesting Flutter tutorials?
