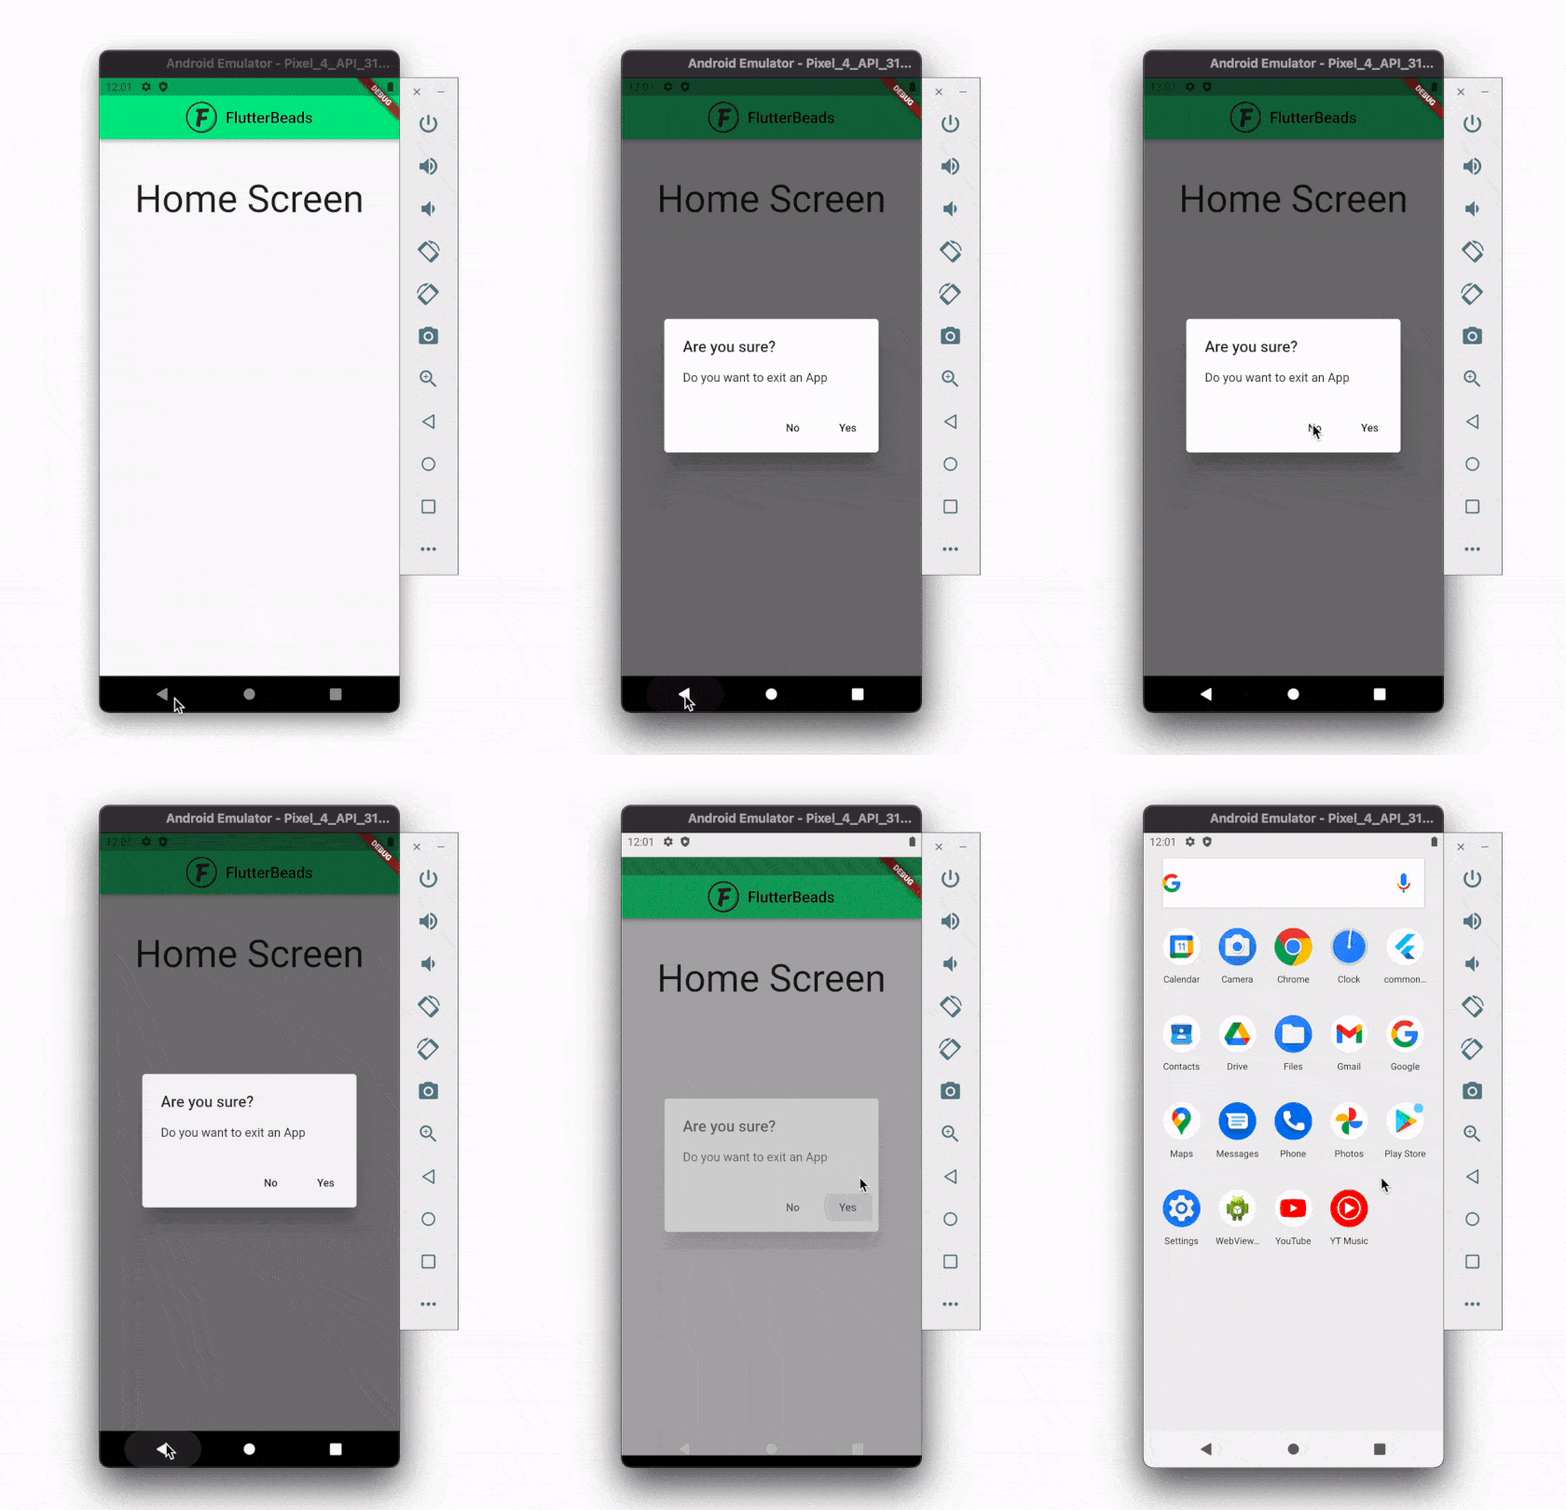
It may happen that when users use your app, they may accidentally press the back button in Android and get out of your app. This can give a really bad impression of your app. So it’s always a good idea to ask users if they really want to exit the app. by default, from the home screen, if you press the back button in the app bar or soft keys on your phone, you get an exit from the app. So in this tutorial, we’ll see how to disable/override back button in Flutter.
Here’s how it looks:

Here’s what we’ll cover:
- Disable Back Button in Flutter
- Override Back Button in Flutter (Show Exist Confirmation Dialog)
Disable Back Button in Flutter
To disable back button in Flutter, you can use the WillPopScope widget. The WillPopScope widget helps you get a callback whenever the back button is pressed. Inside the callback, if you return true the screen will be popped and if you return false, you have simply disabled the back button.
Here’s how you do it:
Step 1: Wrap your Scaffold widget inside the WillPopScope widget.
Step 2: Inside the WillPopScope, add the onWillPop parameter and then create a new method and assign it to handle the callback.
Step 3: Inside the callback, return false.
Code Example:
class _OverrideBackButtonDemoState extends State<OverrideBackButtonDemo> {
  Future<bool> _onWillPop() async {
    return false; //<-- SEE HERE
  }
  @override
  Widget build(BuildContext context) {
    return WillPopScope(
      onWillPop: _onWillPop,
      child: Scaffold(
        appBar: ...
        body: Center(
          child: Column(
            children: [
              SizedBox(
                height: 50,
              ),
              Text(
                'Home Screen',
                style: TextStyle(fontSize: 50),
              ),
            ],
          ),
        ),
      ),
    );
  }
}
Override Back Button in Flutter (Show Exist Confirmation Dialog)
To override the back button in Flutter and show the confirmation dialog, you can use the same WillPopScope widget. Whenever you get the back button pressed callback, show the alert dialog asking for exit confirmation. If the user presses NO, you can hide the dialog and if the user presses YES, you can exit the application.
Here’s how you do it:
Step 1: Wrap your Scaffold widget inside the WillPopScope widget.
Step 2: Inside the WillPopScope, add the onWillPop parameter and then create a new method and assign it to handle the callback.
Step 3: Inside the callback, return AlertDialog with options such as Yes and No using the TextButton.
Step 4: Inside the onPressed() of TextButton with No option, return Navigator.of(context).pop(false).
Step 5: Inside the onPressed() of TextButton with Yes option, return Navigator.of(context).pop(true).
Code Example:
class _OverrideBackButtonDemoState extends State<OverrideBackButtonDemo> {
Future<bool> _onWillPop() async {
  return (await showDialog(
        context: context,
        builder: (context) => AlertDialog(
          title: new Text('Are you sure?'),
          content: new Text('Do you want to exit an App'),
          actions: <Widget>[
            TextButton(
              onPressed: () => Navigator.of(context).pop(false), //<-- SEE HERE
              child: new Text('No'),
            ),
            TextButton(
              onPressed: () => Navigator.of(context).pop(true), // <-- SEE HERE
              child: new Text('Yes'),
            ),
          ],
        ),
      )) ??
      false;
}
  @override
  Widget build(BuildContext context) {
    return WillPopScope(
      onWillPop: _onWillPop,
      child: Scaffold(
        appBar: ...
        body: Center(
          child: Column(
            children: [
              SizedBox(
                height: 50,
              ),
              Text(
                'Home Screen',
                style: TextStyle(fontSize: 50),
              ),
            ],
          ),
        ),
      ),
    );
  }
}
Conclusion
In this tutorial, we learned how to disable/override the back button in Flutter with practical examples. We first saw how to disable the back button using the WillPopScope widget and then used the same fundamentals to override the back button and display the user confirmation dialog.
Would you like to check other interesting Flutter tutorials?


